Thursday, March 31, 2011

TV Bench

After almost a year of our living room looking like this: 
 we finally picked up a tv bench from Ikea, transforming out living room to this: 

We also got some bookcases to go on either side, but they still need anchored and then I'll rearrange all the things we have packed in them and post pictures. 

Monday, March 28, 2011

New Take on a Gallery Wall

So, it's been a REALLY long time since I've posted anything about what we've been doing with the house, but I'll try to get caught up over the next couple weeks. We have a ton of things done and planned... mainly because we're working towards converting the guest room into a nursery! Unfortunately, it's not as simple as it sounds... We've had to work on organizing the shed, to organize the bonus/music/game room, to empty out the office, to move my crafts/sewing supplies.  A lot of work.  So anyway, back to the post at hand: 

For Christmas, my son got these picture frames for his room: 
 We put pictures of friends and family and threw them up on the wall like taped up polaroids. 
 They come with these tacks you nail into the wall... 
 and the frames snap right in place. 
It was a fun little project to add a little more personality to his room. 

Saturday, December 25, 2010

Merry Christmas!

For our first Christmas in our new house, we really wanted to make things special -- particularly with the sad state of affairs we were in last Christmas (three words: one bedroom apartment). We went out the Monday after Thanksgiving to get our tree and the decorating continued from there. 

We decorated the mantle and hung our stockings with care
switched out the fall decor in the entryway for Christmas decorations
including our new advent calendar which Santa has been putting Hershey kisses in each night
a little craft project I did involving a wood plaque, scrapbook paper, and a lot of decoupage glue & sealer
a snow globe I gave my husband the first Christmas we were together
our giant tree that my camera fails to do justice for
and some of our favorite ornaments: 
a picture from our wedding
  a new ornament from Shore Acres (one of our favorite places to visit on the coast)
 some random pictures my son and I thought were fun to stick in the tree
and of course -- Santa

and this is the tree we put up in our son's room
  He started asking to have his own tree before Thanksgiving.  
How could we say no?

Merry Christmas!

Tuesday, December 21, 2010

The New Dining Set

You may or may not remember this post about reupholstering the old dining set shortly before giving it away. Well, it wasn't too long before I got to work on the new dining set. We found a nice table at Fred Meyer -- a size and style we both like.  And then my husband found a dining set (aka set of chairs and a table that's now still sitting out on the back patio) at a garage sale. $35. Not bad.  So here's a little play by play on who I got it all to match.  

 The before...
 ahhh... back when the weather was nice enough to paint on the back patio instead of my dining room
 I used a high gloss black spray paint by Krylon
 Because the original cushions felt NON-EXISTENT, I bought some high density foam at Joann's, which unfortunately weren't quite the right size (but when is anything I ever use for reupholstering the right size?)
 a little cut-to-fit and some spray adhesive...
 then I followed the same steps as last time (staple opposite sides, pulling very tight, then stapling remaining sides, folding the corners like a present)
 a close up of the upholstery fabric I got for 50% off at Joann's
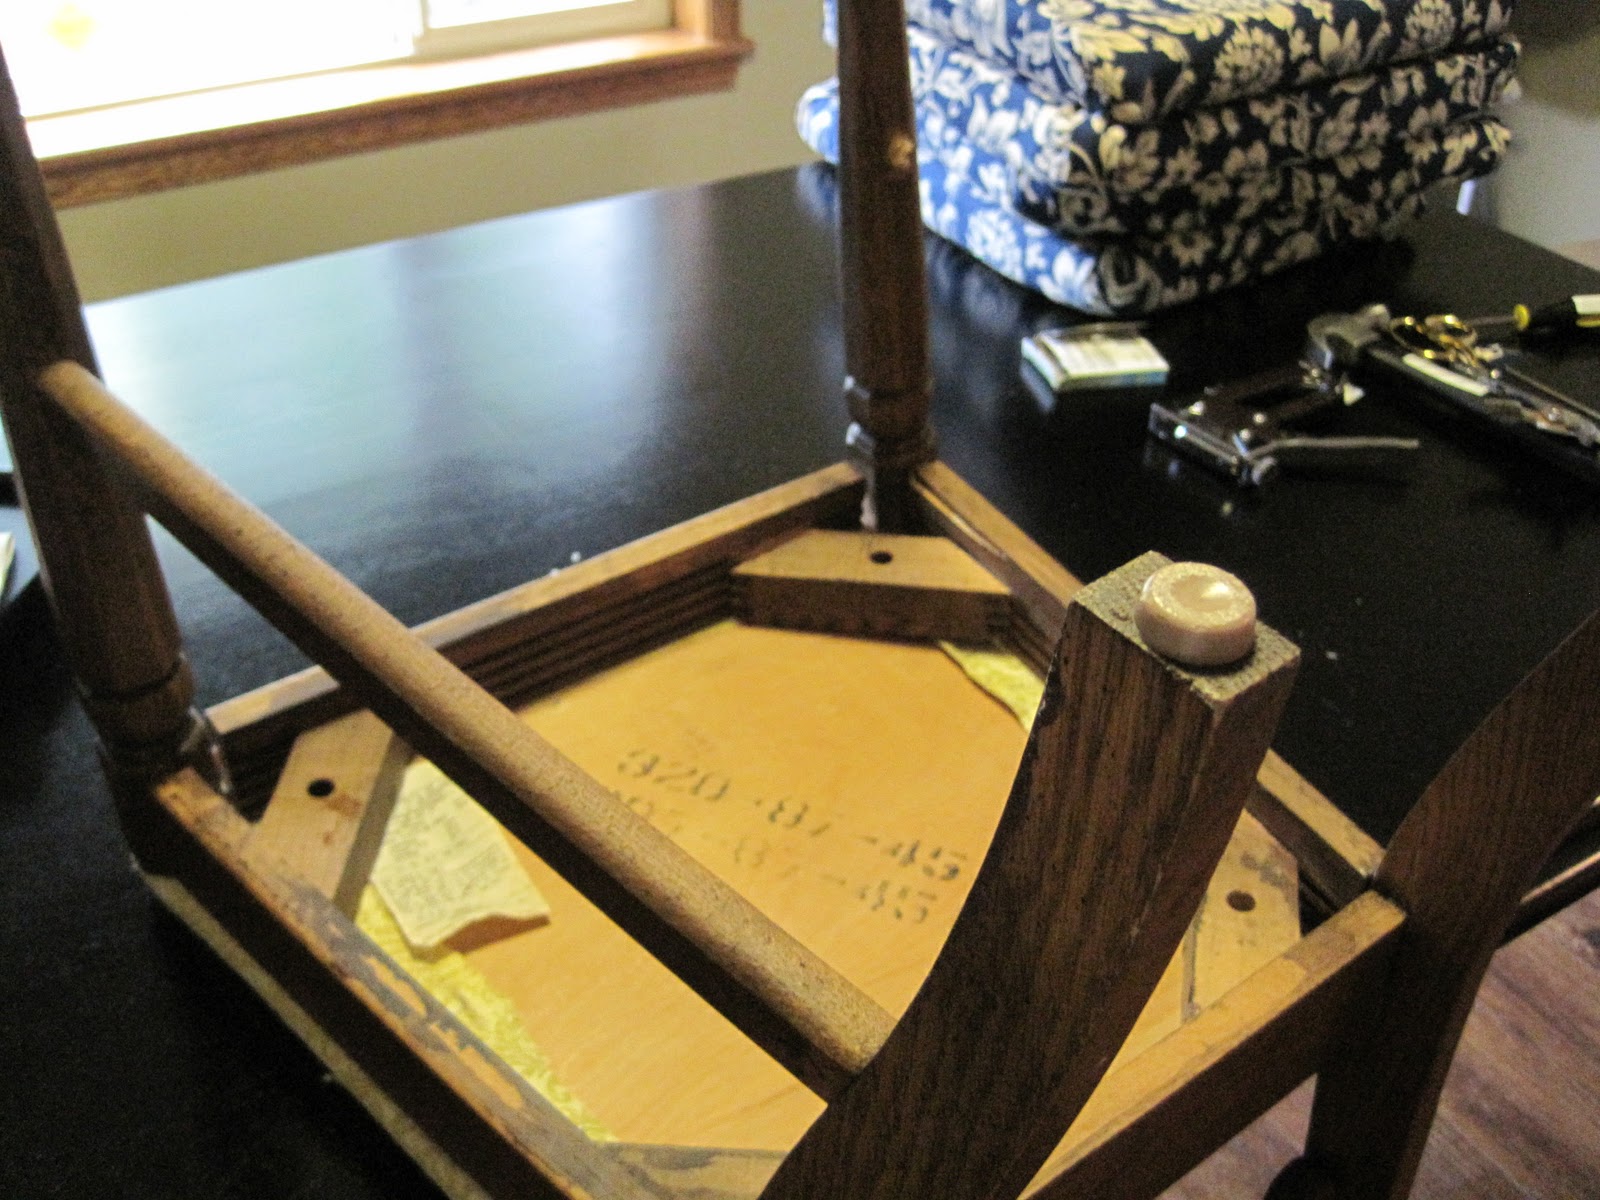
 a few of the chairs have seen better days, so before even painting them, I flipped them over and pounded the joints back together -- but not before applying a little wood glue to keep it all together
 Unfortunately, some chairs were a little worse off than the others... this one is still sitting off to the side of the dining room waiting to be fixed...
 the new replacement dowel is sitting in the dining room as we speak... just like it has been for the past month...
 and a quick side-by-side comparison of the old and new cushions:
 Of course, before reassembling the chairs, I made sure to do two nice, even coats of scotch guard on the chairs... because we're normal people and eat food while sitting on them and sometimes food spills.  Especially for the two year old among us.
 Voila! The finished product at last! Sort of.
Like I said, there's still one chair that still needs repaired, and then there's this great upholstered bench we have our eyes on at a shop downtown...
Thursday, December 16, 2010

Bonus Room Update

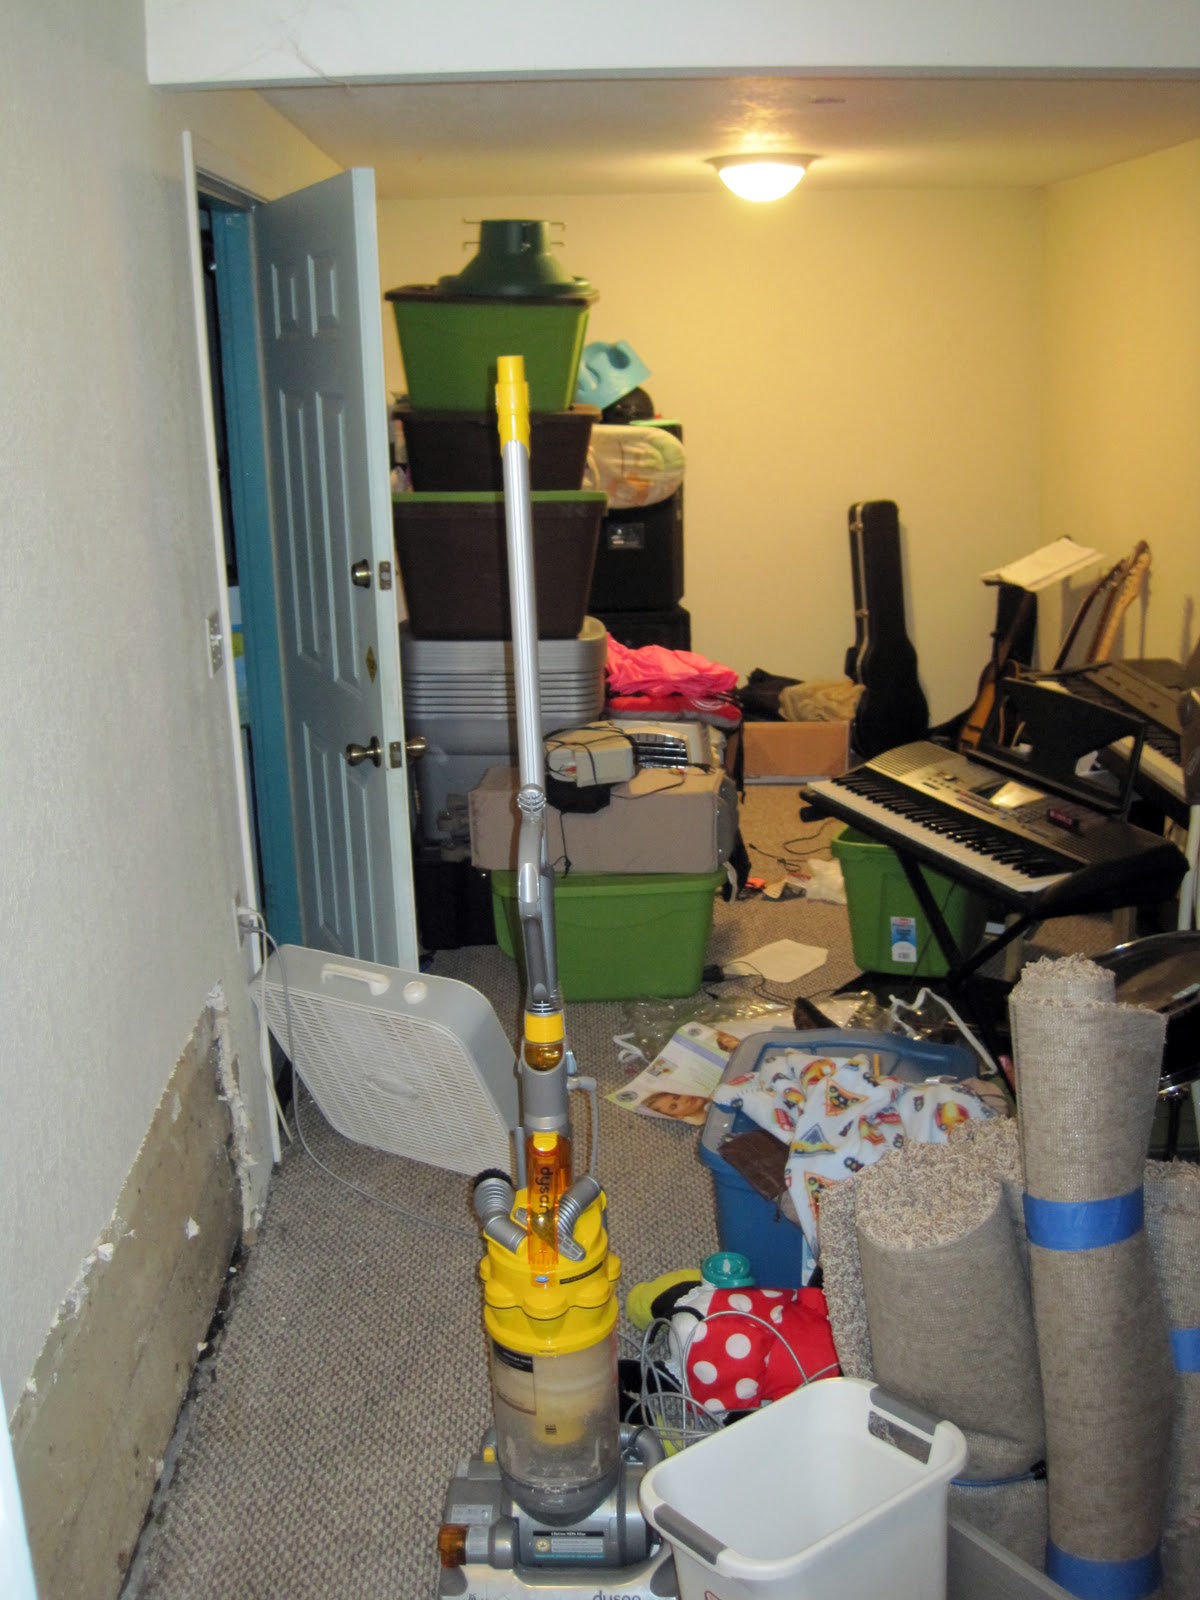
The wall repair was actually finished quite a few weeks ago, but I've been keeping so busy I haven't been able to post about anything, so here's a little update:

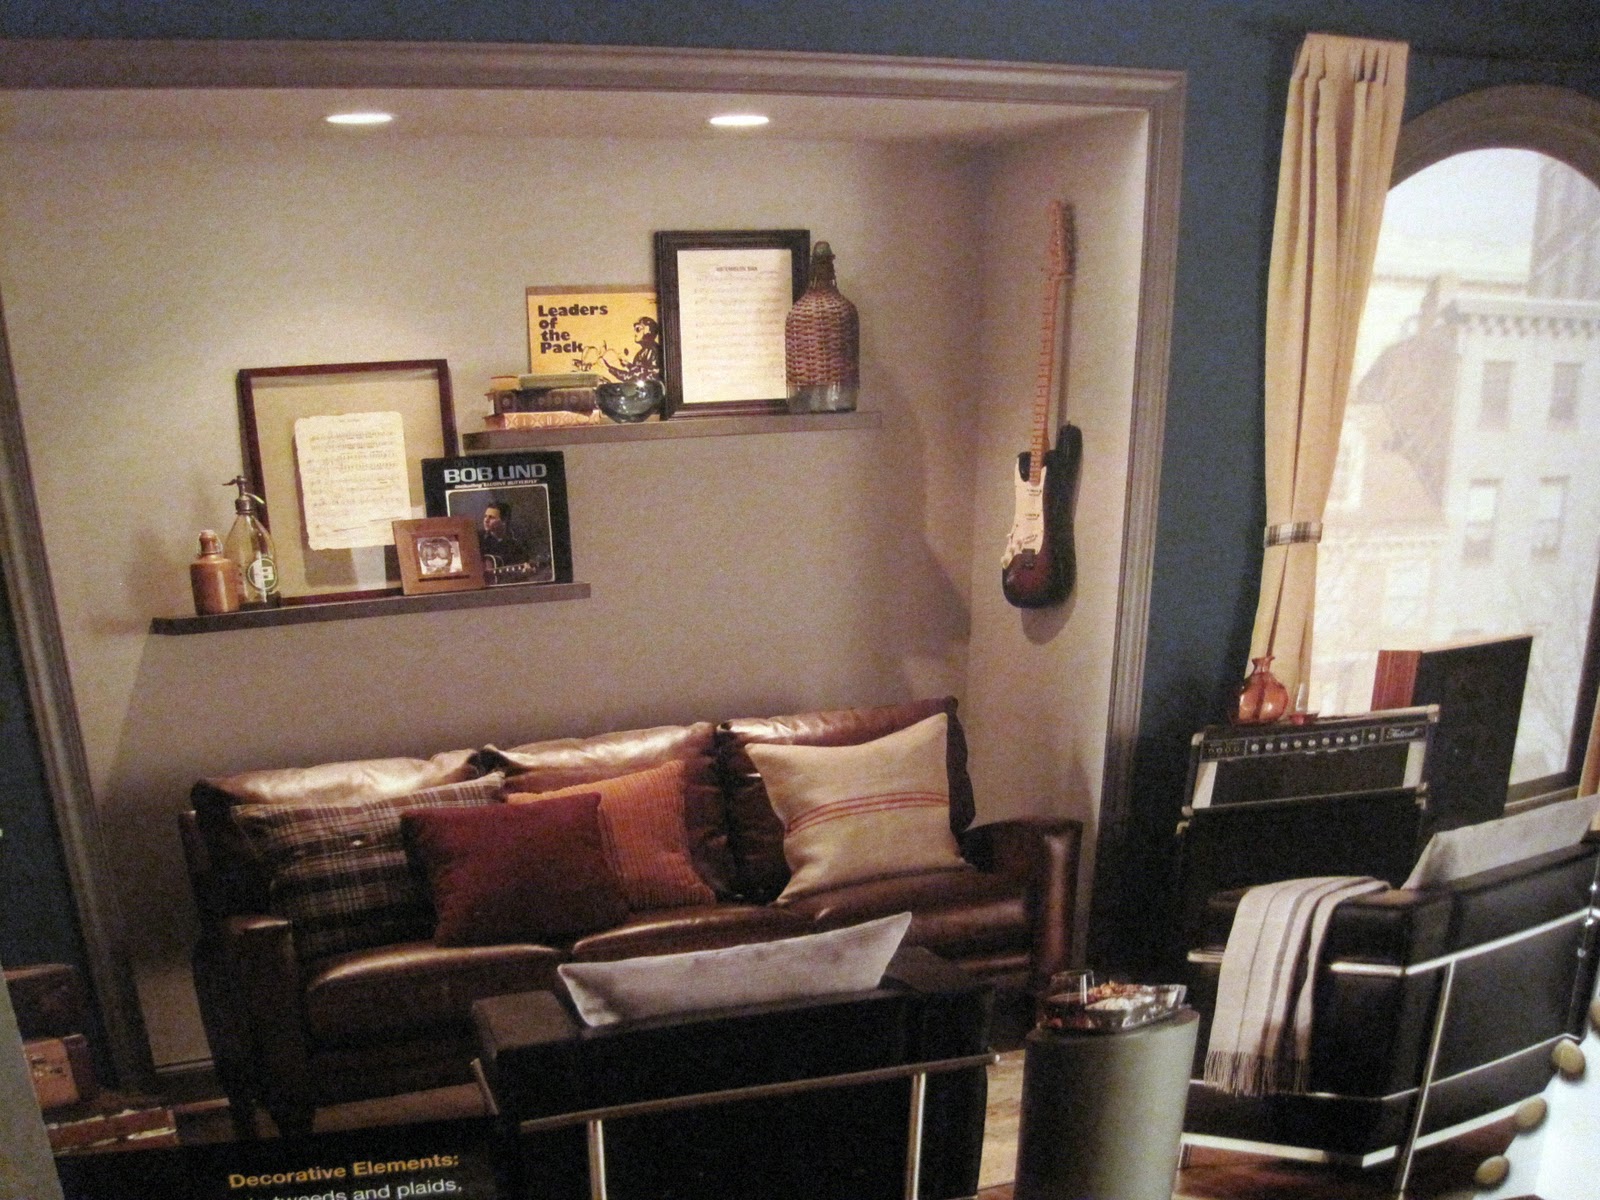
 We (and by "we" I mean my husband) even finished repainting the entire room recently. I'll put up some pictures when he has it set up the way he'd like, but in the meantime, here's our inspiration photo:
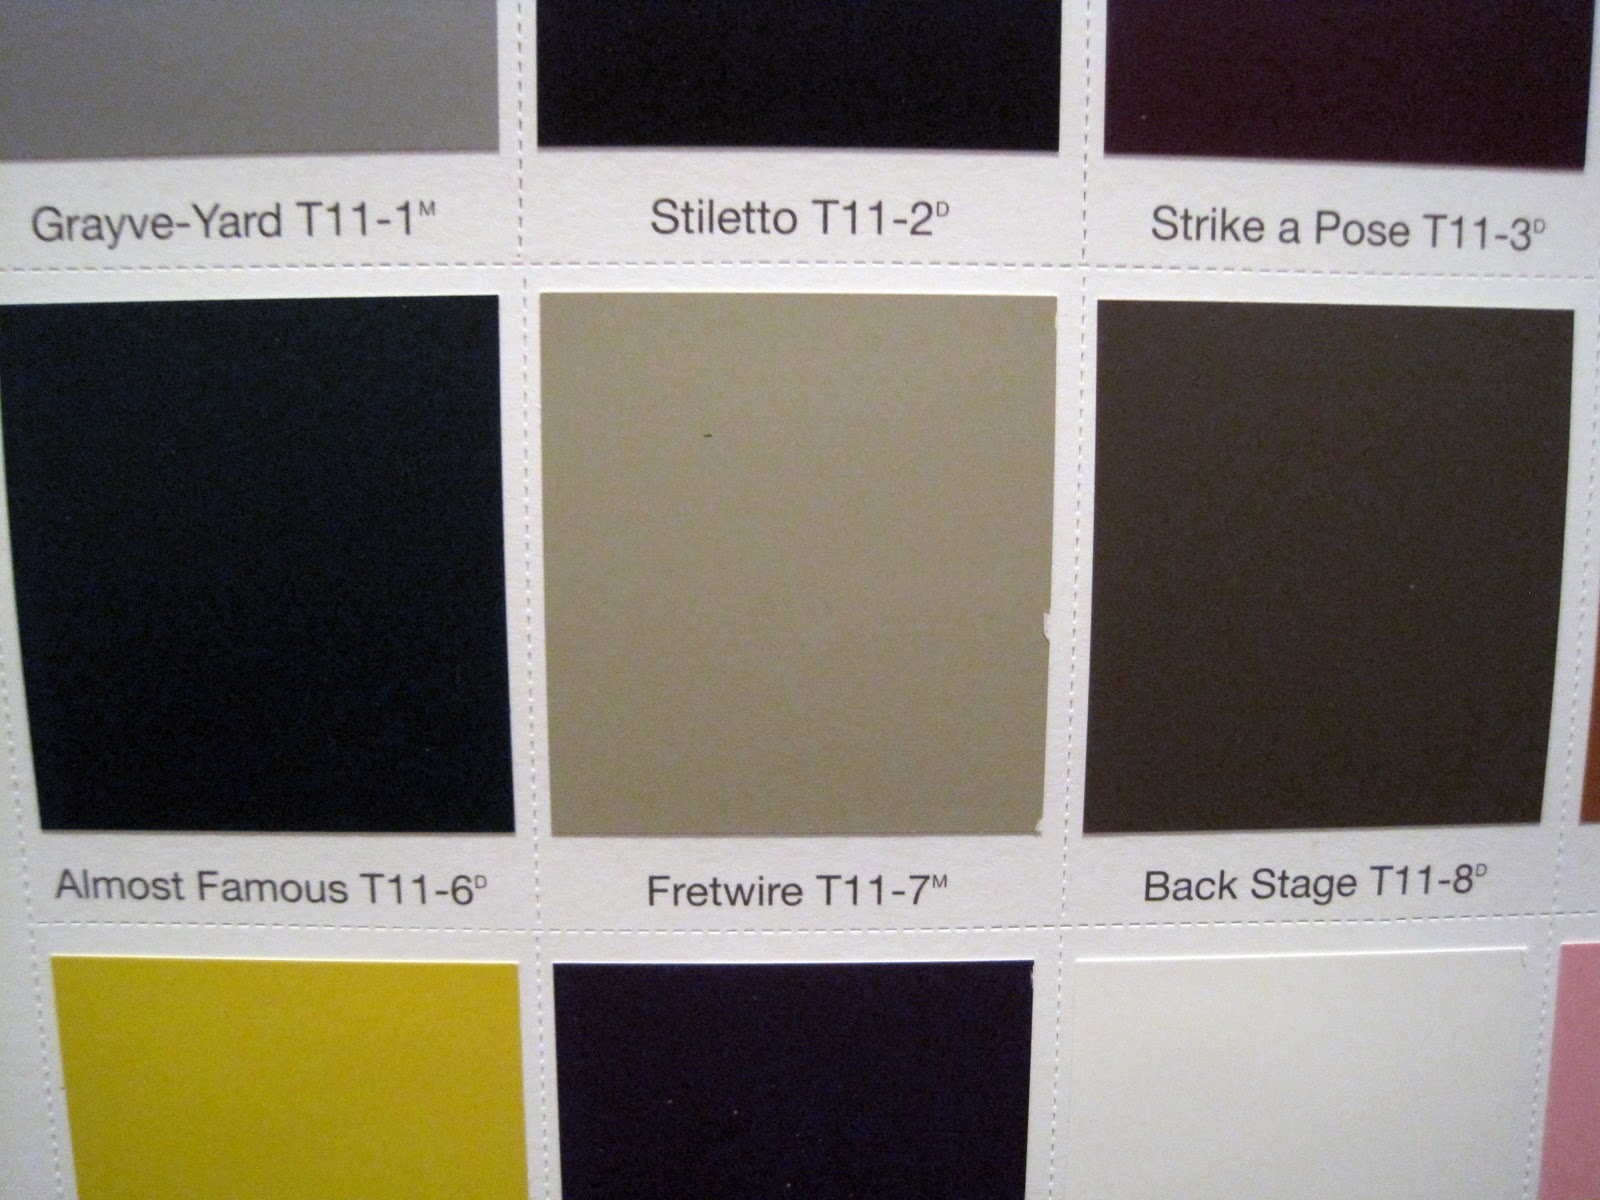
 and a picture of the swatches I didn't bother to color correct to actually look anything like the actual colors:
We used the new VOC-free paint by Olympic, color matched to these three colors by Behr. Almost Famous is the main color in the room, Fretwire is the ceiling and accent wall color, and Back Stage is what we used for all the trim and woodwork. 

and a little video of my son helping out

Friday, November 12, 2010

From Halloween to Thanksgiving

You might remember this post a few weeks ago where I shared about my little Halloween vignette in the living room.

The day after Halloween, it was time to transition to some simple fall decorations.
We went to Wal-Mart where we spent $5 on these two sets of flowers and leaves. 
 Add to that same vase I had out for Halloween a little cord and fabric that I've had for about 10 years...
Then I stripped all the remaining leaves and hot glued them to some more cord to wrap around some white Christmas lights. And voila! My Halloween vignette is now my Thanksgiving vignette. 
 It's the small things that keep me going... :o)

Friday, November 5, 2010

The Storage Shed, at last

We've always known we would need to create more storage for this house. For a long time, we planned on converting our carport into a garage. After much thought and deliberation, we realized it would be a lot of work for not enough storage space. So we moved on to plan B. A storage shed. 

With an existing cement pad in the backyard, we already had an ideal place for the shed... 
Peter drew up a rough sketch... but then after talking to my dad and his, we realized that a shed as nice as we were wanting to build was a little out of our budget.

So instead, we opted for a large metal shed that comes in this little box.
Fortunately, we'd already started putting the shed together by the time the whole plumbing fiasco happened out in the bonus room. Dealing with this huge mess definitely motivated us to get finished with the shed a little quicker, though.
 the men, prepping the ground for the shed

 Once the shed was built, it was time to measure and cut the plywood for the floor.
 Once again, we were fortunate to have a very experienced foremen heading up the project.
And with everything all said and done, we now have a very nice sized storage shed that fits all the things that were crowding our bonus room and back patio.